Rubik’s Cube
Easy F2L for Beginners
This guide is for cubers who can already solve the cross and want a gentler path into F2L (First Two Layers)—without jumping straight into all 41 standard cases.
You will start with the two core inserts (I-shape and T-shape), then practice a curated set of essential setups. Case labels like I2, T1, and Q1 are Cube Quest shorthand so the diagrams stay easy to match.
Who this is for: You finished a beginner solve (or cross + first layer) and want CFOP-style pairing.
Not for yet: Absolute first-timers—start with the beginner tutorial and notation.
After this page: Move to the full 41-case list when these inserts feel comfortable.

- 1. The two core inserts (I-shape and T-shape)
- 2. When the first-layer corner faces sideways
- Case Q1: matching top colors, white facing right
- Case S1: matching top colors, white facing right
- Case Q2: matching top colors, white facing left
- Case S2: matching top colors, white facing left
- Case R1: different top colors, white facing right
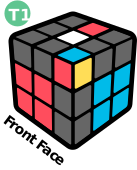
- Case T1 (from R1 setup): different top colors, white facing right
- Case R2: different top colors, white facing left
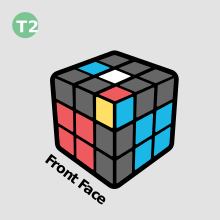
- Case T2: different top colors, white facing left
- 3. When the first-layer corner faces up
- Case U1: side color matches the front
- Case V2: side color matches the front
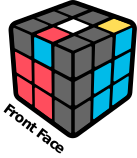
- Case V1: side color does not match the front
- Case U2: side color does not match the front
- 4. Next steps
1. The two core inserts (I-shape and T-shape)
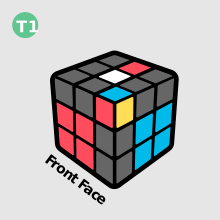
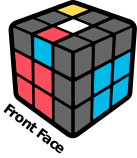
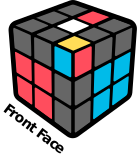
Almost every beginner F2L path comes back to these two inserts. Learn to recognize them first; later cases mostly set up into one of these shapes, then finish with a short insert.
How to spot I-shape vs T-shape
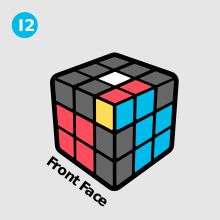
Case I2: basic I-shape insert
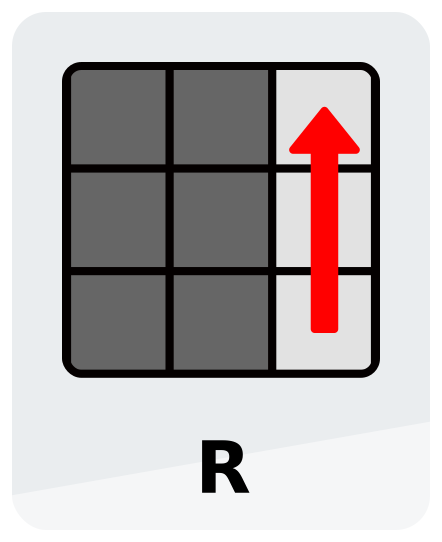
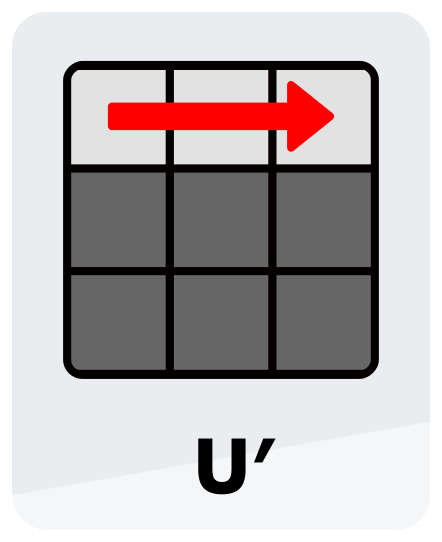
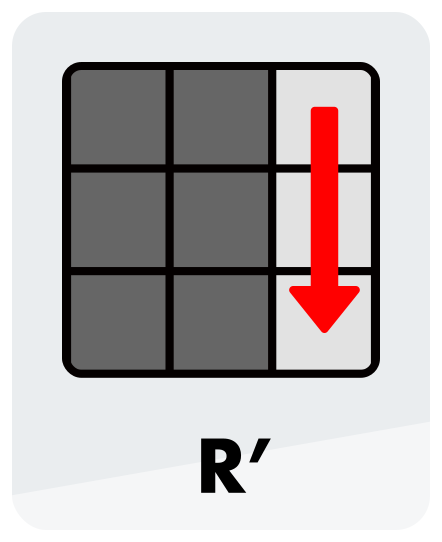
Case T1: basic T-shape insert
Inserting the paired corner–edge into its slot is the slot insert—an I-shape insert or a T-shape insert, depending on the setup.
2. When the first-layer corner faces sideways
In these cases, the first-layer corner (often white) is on the top layer but not facing up—its white sticker points left or right.
If white faces right and the top stickers match, you are looking at Q1 or S1. Check the diagram carefully.
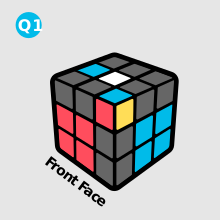
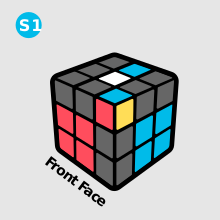
Case Q1: matching top colors · white facing right
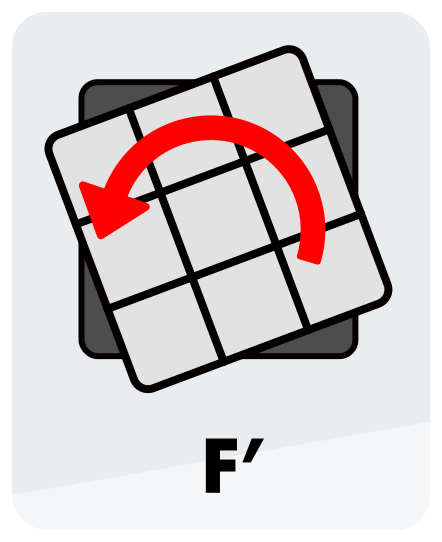
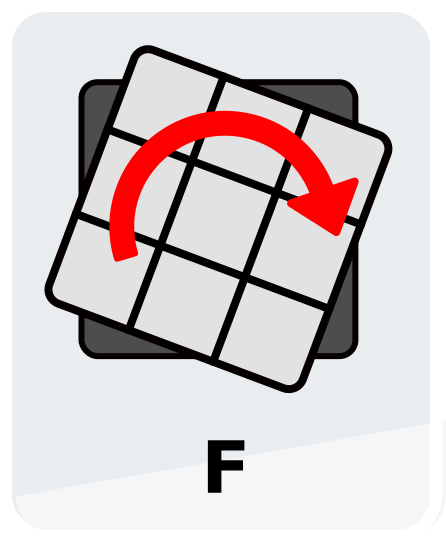
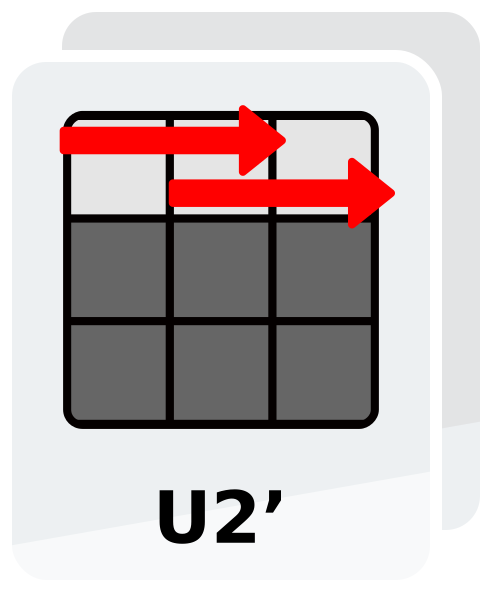
Gentler walkthrough for Q1
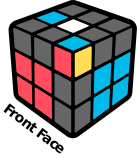
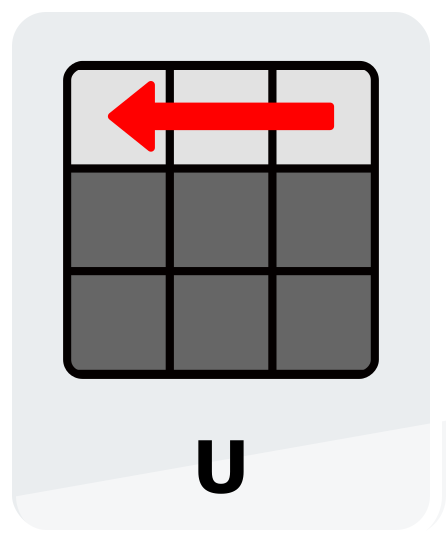
Use U so the yellow face is toward you.
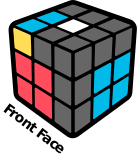
Case S1: matching top colors · white facing right
Gentler walkthrough for S1
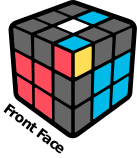
Use U so the yellow face is toward you.
If white faces left and the top stickers match, you are looking at Q2 or S2.
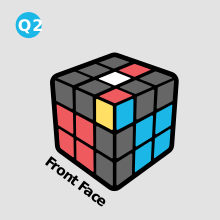
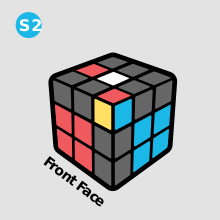
Case Q2: matching top colors · white facing left
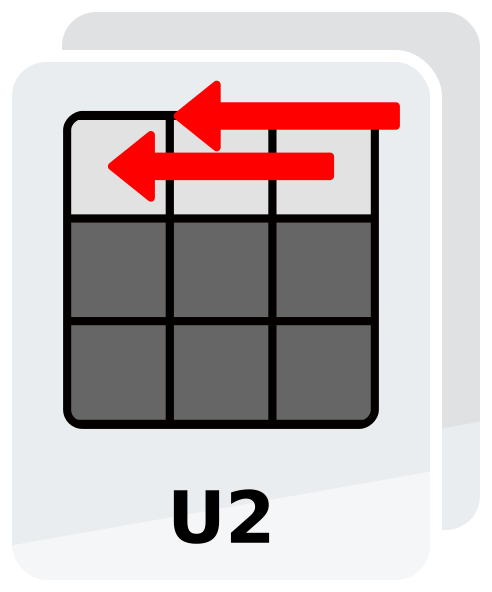
Case S2: matching top colors · white facing left
If white faces right and the top stickers differ, you are looking at R1 or a T1 setup.
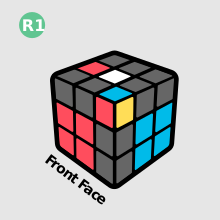
Case R1: different top colors · white facing right
Gentler walkthrough for R1
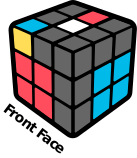
Case T1 (from an R1-style setup): different top colors · white facing right
If white faces left and the top stickers differ, you are looking at R2 or T2.
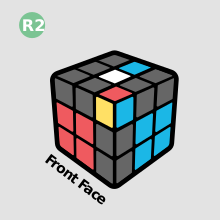
Case R2: different top colors · white facing left
Case T2: different top colors · white facing left
3. When the first-layer corner faces up
Here the first-layer corner sits on the top layer with its white sticker facing up. Align a side color with the front center: if it matches, use U1 / V2; if it does not, use V1 / U2.
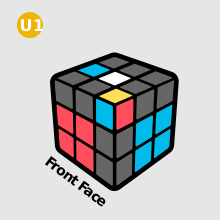
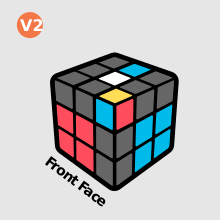
Case U1: side color matches the front
Gentler walkthrough for U1
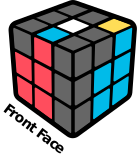
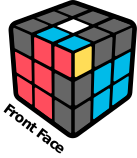
Case V2: side color matches the front
Gentler walkthrough for V2
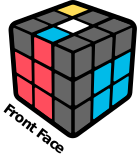
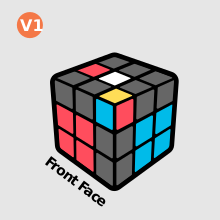
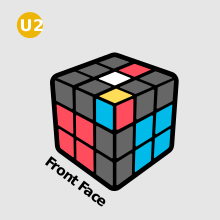
Case V1: side color does not match the front
Gentler walkthrough for V1
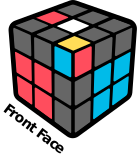
Case U2: side color does not match the front
Gentler walkthrough for U2
4. Next steps
When these starter cases feel familiar, open the full reference and keep drilling recognition.


Practice tip: Do untimed solves. For each pair, name the case out loud (Q1, R1, U1…), reduce it to an I- or T-insert, then execute. Speed comes after recognition.